Why Craftsman Thresholds Fail Where Others Do Not
Craftsman door thresholds have gotten complicated with all the conflicting repair advice flying around. As someone who spent three hours caulking the top of my 1912 threshold in Denver — only to find water still pooling behind the door frame afterward — I learned everything there is to know about this specific failure. The issue wasn’t where I’d applied sealant. It was underneath. Today, I will share it all with you.
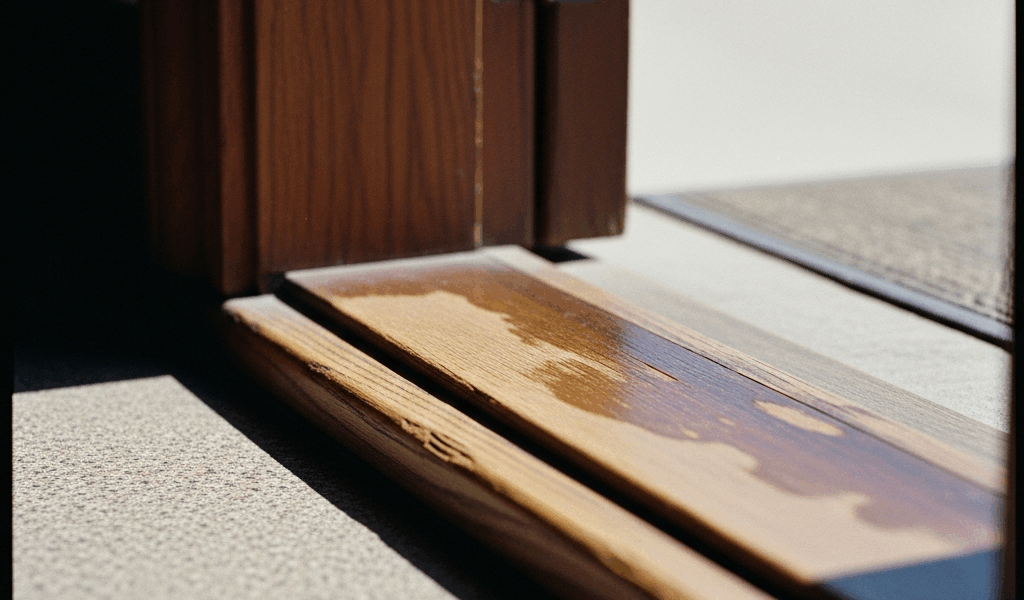
But what is a Craftsman threshold, really? In essence, it’s a substantial oak saddle piece designed to span uneven floor joists while staying shallow enough not to trip anyone. But it’s much more than that. The profile slopes outward — maybe a quarter-inch rise — which made perfect sense in 1910 when floors were flat and the wood was fresh-cut. A century later, everything has shifted.
Houses settle unevenly. Joists deflect. Subfloors warp. Seasonal humidity swings cause the oak threshold itself to expand and contract — oak moves across its width, and that movement adds up over decades. The result is a threshold that pulls away from the floor, leaving a gap water finds instantly. One rainstorm with wind-driven spray hits that half-inch void and follows it straight into the floor framing below.
Secondary failure points matter too. Wood checks and splits as it ages, especially on the underside where moisture and UV create radial stress. The door-to-threshold junction — where the bottom rail meets the saddle — often settles at an angle. The sweep that once dragged lightly now either floats above the threshold or binds so tight the door won’t close. These problems contradict each other. That’s what makes this repair so maddening to diagnose.
Before you pull up anything or call a contractor, understand one thing: replacing original millwork in a Craftsman home changes the room’s character in ways you’ll notice every single time you pass through that door. The weight, the sound, the grain — they matter. Repair first. Replace only when the wood is genuinely too far gone.
Find Where the Water Is Actually Getting In
Probably should have opened with this section, honestly. Most people skip diagnosis entirely and jump straight to the obvious suspect — caulking the top. Testing first saves a full weekend of wrong fixes.
Three entry points exist. Water comes in under the door sweep, through the gap between threshold and floor, or at the joint where the threshold meets the side jamb. You need to know which one before you spend a dollar on materials.
Start outside on a dry day with a flashlight. Crouch low and look up at the threshold from outside. Run your finger along the bottom edge where it meets the floor — any gap at all means water is getting under. Then check the side jambs. Can you see light through where the threshold miters into the frame? That’s a second path in.
Now check the sweep. Close the door and slide a feeler gauge — or a piece of stiff cardstock — under the sweep from inside. Light, consistent contact along the threshold is what you want. If it floats in some spots or binds so hard you can barely move the gauge, the threshold is no longer flat or the door frame has racked.
Here’s the practical test. Wait for rain, or use a garden hose. Have someone inside watching the floor right where the door frame meets the floor while you spray the exterior threshold at moderate pressure from about six inches away. Move along the bottom edge and both side jambs. Where does water appear inside first? That’s your leak point. Mark it with painter’s tape on the inside before you dry everything off.
Fifteen minutes. That’s all this takes. It prevents you from sealing the wrong joint — or replacing a threshold that didn’t actually need replacing.
Repair the Original Threshold Without Replacing It
If the wood is solid except for a few soft spots and the gap is your main issue, repair is almost always the right call for Craftsman homes. Don’t make my mistake of going straight to replacement before checking what you’re actually working with.
Start with soft rot near the bottom edge. Press a screwdriver into the underside of the threshold at floor level. If it sinks more than a quarter-inch, the wood there is compromised. For minor softening, Minwax High Build Wood Filler works well — clean out loose debris, apply the epoxy consolidant per label directions (usually a 24-hour dry time), sand flush, and seal. Anything that sinks more than half an inch means you need a finish carpenter. Soft wood won’t hold fasteners or sealant, full stop.
The gap under the threshold is your main leak source. Re-bedding solves it. From underneath — whether you’re working in a crawl space or basement — apply polyurethane sealant along the full length where the threshold meets the floor. Sikaflex 11FC runs about $8 per cartridge and is the right product here. Force it into the gap, smooth it with a wet tool, and let it cure for 24 hours. Polyurethane stays flexible as the wood moves seasonally. Silicone caulk cracks and re-opens. That’s the reason to spend the extra two dollars.
Can’t access the underside? You can sometimes shim the threshold back down. Remove the door, shim the threshold up from below using stainless shims — Harbor Freight carries packs for $3–5 — and nail or screw through the threshold into the shims. This only works if the gap is under an eighth of an inch. Wider gaps mean the floor has moved significantly, and shimming alone won’t hold long-term.
After sealing the bottom, clean the top surface thoroughly, remove old caulk, and apply exterior spar polyurethane sealant along the mitered corners where the threshold meets the side jambs. Do not seal the top surface of the threshold itself — water needs somewhere to drain, and a sealed top traps moisture against the wood underneath.
When Replacement Is the Right Call and What to Buy
Replace the threshold if more than half the width shows soft wood, if the profile has eroded away, or if the door has been rehung at a different height than the original. Those three conditions pretty much cover it.
Buy oak saddle thresholds — at least if you want to maintain the visual integrity of the space. These match the original in appearance and behavior. Vintage Wood Works and most local hardwood mills stock them. Standard dimensions run 1.25 inches thick, 3.5 to 5.5 inches wide, and whatever length your opening requires. A 36-inch threshold costs roughly $35–65 depending on grain quality. Measure the opening carefully — include the frame width on both sides, not just the daylight opening.
Avoid aluminum interlocking thresholds. They’re durable. They work. But they look mechanically wrong in a Craftsman interior, and I’m apparently someone who notices that every time I walk through a door — the Vintage Wood Works oak saddle works for me while aluminum transitions never did. A chrome or bronze threshold reads immediately as a retrofit. It diminishes the door’s character in a way that’s hard to reverse without full replacement.
Installation matters more than most guides admit. Remove the old threshold by sawing it into sections and prying out the pieces — this prevents damage to the subfloor and framing. Set the new threshold in polyurethane sealant, not mortar or concrete, both of which crack and trap water over time. Nail or screw down from the top, but only after the sealant has tacked — about two hours. Fasteners through wet sealant push it out and defeat the seal entirely.
Finishing the Job So It Lasts More Than One Season
After repair or replacement, seal the threshold with exterior spar varnish — not polyurethane. Spar varnish flexes slightly with wood movement. Minwax Helmsman or Epifanes are both solid choices. Three thin coats, sanding lightly between each, and recoat every two years. That maintenance habit alone is the single biggest factor in how long a threshold actually lasts.
Adjust the door sweep so it makes light contact without dragging. A piece of paper should slide under it. If it binds, the threshold or frame has racked and a finish carpenter may need to adjust the frame or rehang the door entirely.
Inspect annually where the threshold meets the floor and jambs. New gaps mean the wood has moved again or the sealant has failed. A fresh bead of sealant now prevents a significantly larger problem come next rainy season.
If the threshold is cracked through, if the profile is gone, or if more than one of these repairs fails within a single year, call a finish carpenter to evaluate the door frame itself. A threshold repair that keeps failing is usually telling you the frame is the real problem. That’s what makes these old doors endearing to us Craftsman homeowners — and occasionally maddening. So, without further ado, get under that door and find out what’s actually going on.


Stay in the loop
Get the latest craftsman charm updates delivered to your inbox.