Why Craftsman Porch Steps Pull Away
Craftsman porch step repair has gotten complicated with all the generic “stair fix” advice flying around. Most of it doesn’t apply here. As someone who inherited a 1912 bungalow with original concrete porch steps, I learned everything there is to know about this specific failure mode. Today, I will share it all with you.
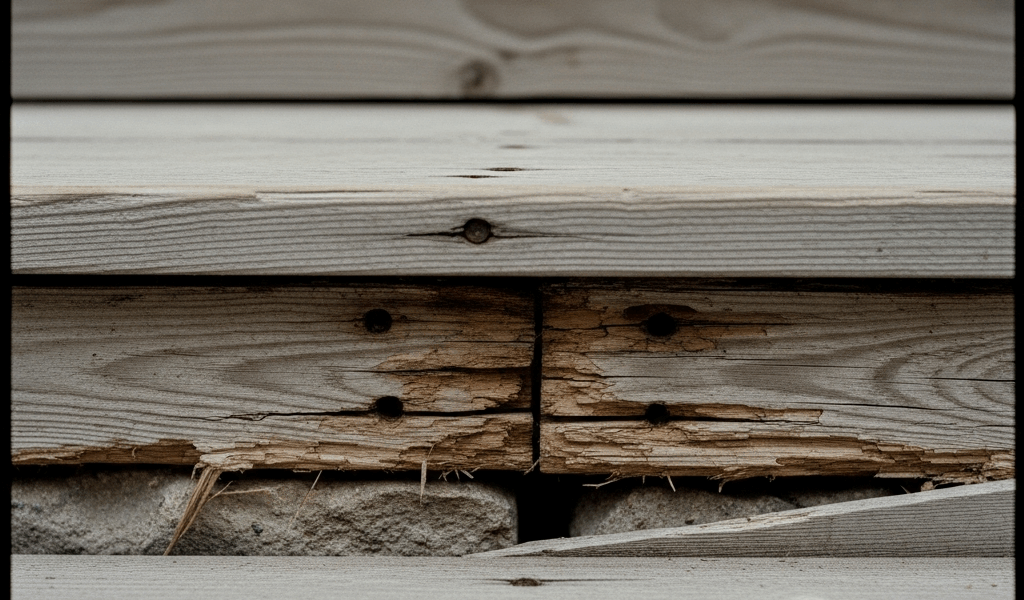
Within my first year in the house, I noticed a half-inch gap opening between the steps and the foundation wall. But what is a Craftsman step separation problem? In essence, it’s a failure of the ledger board — the board bolted directly to the masonry — losing its grip after decades of abuse. But it’s much more than that.
Three things cause this. Rot in the ledger itself comes first. Water pools at the foundation line, especially when flashing was never installed or gave out years ago. The wood softens from the inside out. The fasteners end up holding air, not wood. Then there are failed masonry anchors. Original Craftsman homes were bolted into brick or concrete using whatever anchor system existed around 1910 — sometimes bare bolts, sometimes corroded lag shields that have since turned to rust. Those anchors lose tension. The mortar cracks around them. The whole connection goes slack. Third is seasonal wood movement. Expansion and contraction across a century works fasteners loose like a slow-motion jackhammer. One day you press on the step and it shifts slightly. That’s your sign.
What makes this different from a standard deck stair failure is the direct masonry connection. Modern decks sit on buried footings with lag bolts going into wood rim boards. Craftsman steps bolt straight into brick or stone. That’s a completely different beast — and that’s what makes this repair endearing to us old-house people. Nothing is ever simple.
Check These Things Before You Start
So, without further ado, let’s dive in. Start with the most basic test: press down on the step and see if it actually moves, or if you’re just looking at a visible gap. Big difference. A gap with no movement might be purely cosmetic. A gap with rocking means fasteners are genuinely loose.
Probe the ledger board with a flathead screwdriver or an awl. Push hard at the foundation line. Wood that gives easily or crumbles means rot. Wood that feels solid and hard means you’re probably just dealing with loose anchors. Write down where every soft spot is before you forget.
Walk the full length of the attachment point. Is the gap uniform — same width the whole way — or does it widen on one side? A gap that’s worse on the left tells you the steps are rotating slightly, which points to one anchor failing ahead of the others. A uniform gap usually means all the fasteners lost tension together, typically from seasonal movement or water infiltration.
Look at the mortar around each anchor point. Cracked, crumbling, or missing mortar means the masonry itself is giving way. Sometimes brick looks fine while the mortar is completely shot. That changes your approach slightly — you may need to repoint before you do anything else.
Here’s the one that demands a professional: if the foundation wall is cracked, bowing, or showing a stair-step crack pattern in the masonry, stop everything. That’s foundation settlement. Call a structural engineer before you bolt anything back down. Seriously. Don’t make my mistake of assuming it’s cosmetic when it isn’t.
How to Reattach Steps to a Masonry Foundation
Probably should have opened with this section, honestly. Assuming the wood is solid and the masonry is sound, here’s the exact process I used on my own house.
- Clean the gap. Wire brush first, then a shop vac to pull out decades of dirt, mortar dust, and loose paint chips. You need bare surface area for new caulk to actually grip. A pressure washer on low works too — but let everything dry completely for at least 48 hours afterward. Don’t rush this.
- Remove old fasteners. Bolt cutters handle most old bolts cleanly. Lag bolts that won’t budge respond well to a reciprocating saw fitted with a metal-cutting blade — cut them flush or slightly recessed. You don’t need to extract them fully if they’re truly stuck. Just cut them deep enough that new fasteners won’t conflict.
- Strip the paint from the contact surface. This one I learned the hard way. I reattached my steps without scraping the paint off the mating surface and within two years the gap reopened. Paint is a barrier. The fasteners were pulling the paint layer up, not the wood itself. Use a paint scraper or a wire wheel chucked into a drill to get down to bare wood wherever the ledger contacts the masonry.
- Drill pilot holes into the masonry. Mark holes every 16 inches along the ledger, starting 2 inches from each end. A carbide masonry bit — 3/8-inch diameter — cuts cleanly through brick or concrete. Drill perpendicular to the wall, because any angle throws off your anchor alignment. Blow all the dust out with compressed air before moving on.
- Install new anchors. I’m apparently a sleeve anchor person — Simpson Strong-Tie SSTB stainless-steel, 1/2-inch diameter by 4 inches long — and that system works for me while Tapcon masonry screws never gave me quite the same confidence for this load. Tapcon is technically rated for lighter applications. The sleeve anchors expand as you tighten, gripping masonry on all sides. Snug the washer and bolt hand-tight, then a quarter-turn with a wrench. Don’t gorilla-grip it. You will split 110-year-old wood.
- Caulk the seam. Before fully tightening everything, run a bead of OSI QUAD polyurethane caulk — gray or white depending on your house — along the top of the ledger where it meets the siding or water table. Then pull the ledger tight by tightening anchors gradually, one quarter-turn per bolt, working left to right, then repeating the pass. The caulk compresses as the gap closes and bonds to both wood and masonry as it cures. Water-resistant seal. Done right, it holds.
- Torque gradually. Tighten in stages over a day or two. Fast tightening splits old wood. Slow, even pressure lets the wood compress naturally without cracking.
Replacing a Rotted Ledger Board the Right Way
If your probe found soft spots running deeper than surface rot, the ledger needs full replacement. This is not a Saturday afternoon job.
First, install temporary support under the steps so they don’t settle or shift while you work. A 4×4 post on a concrete pad, braced with 2x4s at an angle, works fine. Tighten any adjustable posts from the bottom up slowly — sudden movement can damage the step structure above.
Remove the fasteners and carefully pry the old ledger away from the masonry. Use a thin pry bar and work gradually so you don’t crack brick or blow out mortar joints. Once it’s free, cut it into manageable pieces and haul it out. Don’t let it sit — rotted wood attracts moisture right back to the area you just dried out.
Measure the original ledger — usually 2×8 or 2×10 pressure-treated lumber — and order PT stock to match exactly. Width and depth both matter. Cut to length with a half-inch of extra material on each end so you can notch around any projecting hardware.
Before installation, brush end-cut preservative onto every cut edge. This is the step everyone skips. Don’t skip it. Field-cut ends on pressure-treated lumber expose unprotected wood fiber. Paint those ends with the same preservative compound the mill used — brands like Copper Green or Tim-bor work fine, usually $12–$18 per quart at any decent lumber yard.
Install the new ledger using the same anchor method described above. The steps reattach to the new ledger using either the original fastening approach or upgraded stainless hardware — at least if you want it to last another generation without revisiting this job.
Finishing Up So It Lasts Another 50 Years
Prime and paint the new ledger to match the existing finish. An exterior-grade primer rated for masonry contact goes on first — Zinsser 123 or similar. Follow with a quality acrylic latex topcoat in your house color. Two coats minimum.
Caulk the top seam and the sides wherever the ledger meets trim or siding. Caulk the bottom too if a gap exists there. Polyurethane caulk moves with the wood through seasonal cycles and stays flexible for years — unlike silicone, which looks fine until it suddenly peels away from painted wood in long strips.
Spring maintenance runs about 90 seconds. Stand on the step, press down, then push side-to-side, and feel for any movement at all. If there’s play, tighten the nearest anchor one quarter-turn. That’s the whole job.
Craftsman-era joinery, when properly anchored back to masonry, actually outlasts a lot of modern construction. My 1912 steps — once reattached correctly using $47 worth of Simpson anchors and a tube of OSI QUAD — are completely solid. This new approach took hold immediately and eventually evolved into the maintenance routine old-house enthusiasts know and rely on today. They’ll likely outlast me. Probably should have started with that.


Stay in the loop
Get the latest craftsman charm updates delivered to your inbox.