Understanding Pressure Treated Wood
Pressure treated wood is a popular material for outdoor projects due to its resistance to rot and insects. It’s treated with chemicals to protect against the elements. Knowing these properties is crucial before painting it. The main chemicals used are water-borne preservatives, which require time to dry before applying any finish.
The Importance of Drying and Weathering
Pressure treated wood is often wet when new due to these chemicals. Painting it too soon can lead to chipping and peeling as the wood dries. Allow the wood to dry for at least a few weeks. A simple test involves sprinkling water on the wood. If it beads, it’s still too damp. If it absorbs, it’s dry enough to proceed.
Choosing the Right Paint and Primer
Using the right paint is critical for a long-lasting finish. Acrylic latex paints are recommended for their flexibility and durability. Before painting, a primer is essential. Opt for a latex primer to ensure proper adhesion. This helps the paint to bind well and last longer. It also blocks tannins that can bleed through paint, especially in new wood.
Preparing the Surface
Proper surface preparation will make or break a painting project. Start by cleaning the wood to remove dirt, mildew, and any loose particles. A power washer can be effective but use a gentle setting to avoid damage. After cleaning, let the wood dry completely. Sand any rough areas to create a smooth surface, making sure to follow the grain.
Application Techniques for Best Results
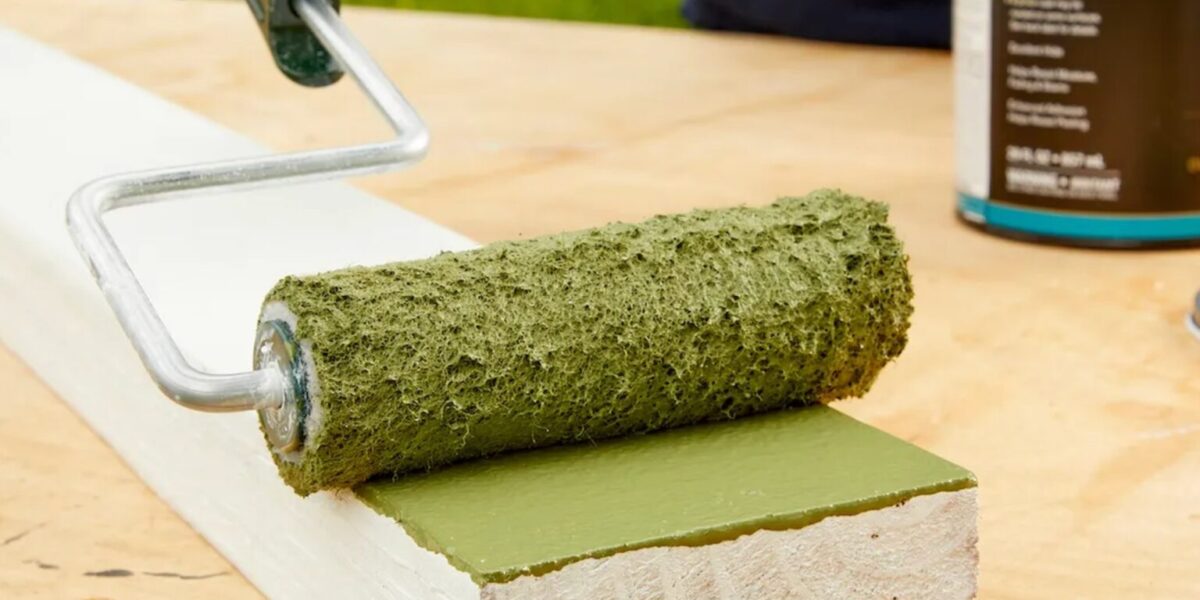
Start with the primer. Apply a thin, even coat using a brush or roller designed for exteriors. Once the primer is dry, proceed with the paint. Two coats of paint are usually sufficient for full coverage. Allow adequate drying time between coats based on the paint manufacturer’s instructions. Use a brush for detail work and corners, while rollers are great for large areas.
Consider the Weather Conditions
Weather plays a significant role in painting success. Ideal conditions are warm and dry with low humidity. Avoid painting on rainy days or in direct sunlight. Temperature fluctuations can affect drying times and the overall finish of the paint.
Maintaining Painted Pressure Treated Wood
After painting, maintenance ensures longevity. Regularly inspect for signs of wear or peeling. Touch-up areas as needed. Periodic cleaning with a mild detergent can help maintain appearance. Avoid harsh chemicals that might strip the paint.
Common Mistakes to Avoid
- Skipping the drying process of newly treated wood.
- Using oil-based paints which can trap moisture.
- Failing to clean and sand the surface properly.
- Ignoring manufacturer recommended drying times.
Environmental Considerations
Consider the environmental impact of the project. Use paints with low volatile organic compounds (VOCs) to minimize pollution. Dispose of old paint and materials responsibly. Avoid contaminating surrounding soil and plants during the painting process.
Exploring Alternative Finishes
If painting isn’t suitable, there are alternatives. Staining preserves the natural look while providing protection. Clear sealers and water repellents can also be effective. These options allow the wood’s texture to show while still offering some degree of shielding from the elements.
Enhancing Aesthetic Appeal
A well-executed paint job can enhance the appearance of pressure treated wood. Consider paint colors that complement the surroundings. Paint can be used to add visual contrast or blend into the environment seamlessly. Patterns or designs offer an opportunity for personalization, adding character to decks or fences.
